Replacing a toilet seat is a simple task that can enhance the comfort and aesthetics of your bathroom. Whether your current seat is worn out or you want to update the look of your toilet, this DIY guide will walk you through the steps of installing a new toilet seat.
Reasons to Replace a Toilet Seat
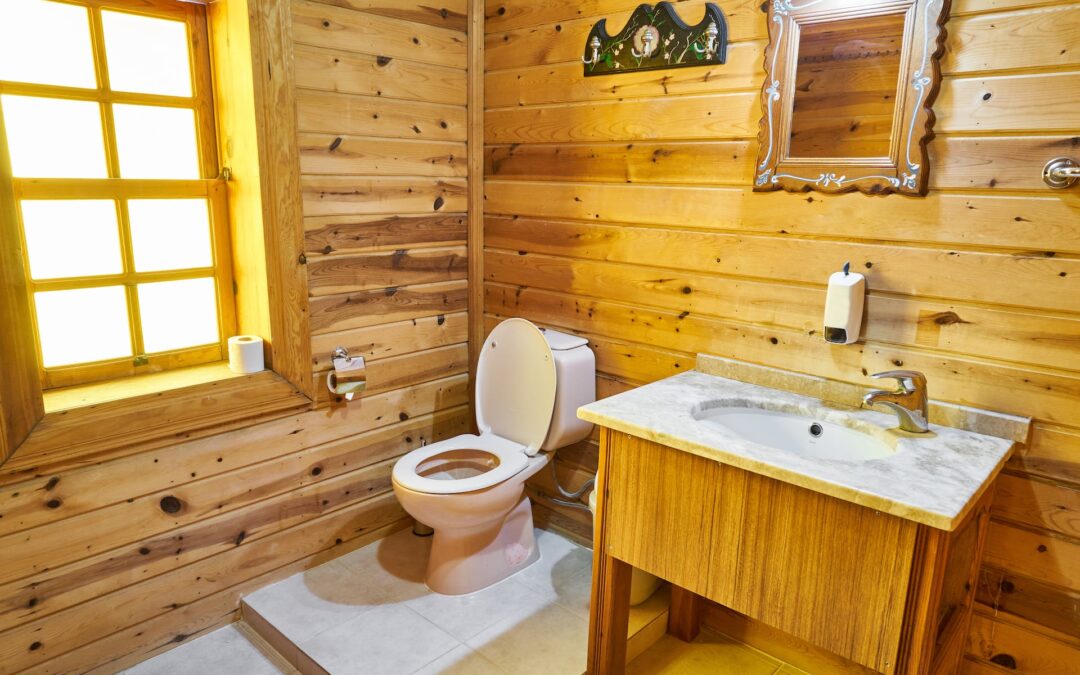
Toilet seats typically need replacement every five years due to wear and tear. Signs it’s time to replace your seat include slipping, stains that won’t come off, or broken hinges. Additionally, you might want to replace it for a fresh look in your bathroom.
Installation Steps
Before you begin, gather the following tools: an adjustable wrench or pliers, a flathead screwdriver, spray oil (such as WD-40), and a small hacksaw (if necessary). Follow these steps to install a new toilet seat:
- Measure Your Toilet Bowl: Ensure the replacement seat matches the dimensions of your current toilet bowl. Measure the distance between the bolt holes to confirm compatibility.
- Choose a Style and Color: Select a seat style (rounded or elongated) and color that matches your toilet bowl or complements your bathroom decor.
Installing a new toilet seat is a straightforward DIY project that can be completed with basic tools. However, if you’re unsure or uncomfortable with the process, don’t hesitate to contact a professional plumber for assistance.
For more information on how plumbing works visit https://socalplumbers.com/. If you have found this article to be informative and you want to continue to receive future information from the SoCal Plumbers, please go to https://socalplumbers.com/email-signup/ and sign up.